










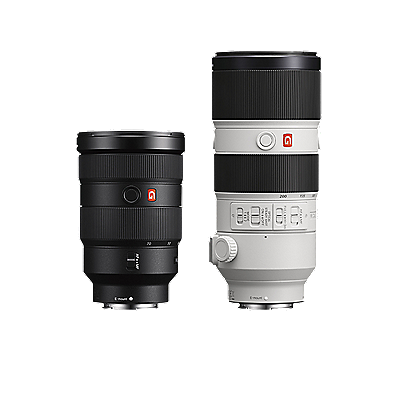



Lens distortion compensation for X-OCN clips captured with E-mount lenses made by Sony or license partners is available with the following Sony software and plug-ins.
Choose which software or plug-in to use based on your non-linear editing (NLE) software as follows.
- When importing data with lens distortion compensation applied into NLE software:
Lens distortion compensation using Catalyst Browse / Catalyst Prepare - When using Adobe Premiere:
Lens distortion compensation using Catalyst Prepare Plugin for Premiere - When using Blackmagic Design DaVinci Resolve:
Lens distortion compensation using Catalyst Prepare Plugin for DaVinci Resolve
Notes:
- Catalyst Prepare is not available in Mainland China.
- For information on license partners, see the following page.
E-mount License Partners - Distortion compensation is not available for clips recorded on VENICE/VENICE 2 cameras.
- Distortion compensation is not available for X-OCN clips recorded in the S&Q or Interval Rec mode on BURANO cameras.
If you will use lenses listed on the following page, check in advance how any distortion will look.
E-mount Lens Distortion Compensation for X-OCN Clips
Distortion compensation using Catalyst Browse, Catalyst Prepare, Catalyst Prepare Plugin for Premiere, or Catalyst Prepare Plugin for DaVinci Resolve*
- Lens distortion compensation using Catalyst Browse / Catalyst Prepare
- Select the clip.
- Execute [Adjust clip].
- Configure settings such as [Stabilization] and [Lens distortion compensation] and then execute [Analyze].
- From [Export], adjust the output format as needed and then export the clip.
For details, refer to the Help Guide.
Catalyst Browse / Catalyst Prepare operating screen (step 3) - Lens distortion compensation using Catalyst Prepare Plugin for Premiere
- Select [Video Effects] - [Catalyst Prepare Plugin] and then apply [Adjust clip] to the clip on the timeline.
- From [Effect Controls], apply [Lens distortion compensation] and then execute [Analyze].
For details, refer to the Help Guide.
Adobe Premiere operating screen (steps 1 and 2) - Lens distortion compensation using Catalyst Prepare Plugin for DaVinci Resolve
- From the cut page
- Select [Effects] - [Catalyst Prepare Plugin] in the effect library and then apply [Adjust clip] to the clip on the timeline.
- Select [Inspector] - [Effects], apply [Lens distortion compensation], and then execute [Analyze].
For details, refer to the Help Guide.
DaVinci Resolve cut page (step 1)
DaVinci Resolve cut page (step 2) - From the color page
- Select [Catalyst Prepare Plugin] - [Adjust clip] in the effect library and then apply compensation to the clip.
- In the effect settings, apply [Lens distortion compensation] and then execute [Analyze].
DaVinci Resolve color page (steps 1 and 2)
- From the cut page
- *Shooting with a Sony E-mount lens for which [Distortion Comp.] is locked to [Auto] on the camera automatically activates lens distortion compensation.
E-mount Lens Distortion Compensation for X-OCN Clips - *Some features of Catalyst Prepare Plugin for Premiere and Catalyst Prepare Plugin for DaVinci Resolve, other than lens distortion compensation are paid features. A watermark is applied to clips when paid features are used without a subscription.
- *For NLE software details, contact the software vendor.
- *Adobe and Adobe Premiere are registered trademarks or trademarks of Adobe Inc. in the United States and other countries. DaVinci Resolve is a registered trademark or trademark of Blackmagic Design Pty. Ltd.